 |
| Kitchen cabinets - almost complete (missing island and one upper) |
 |
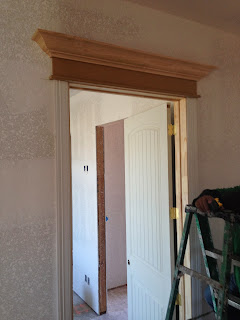
| Adding the Crown and Door Trim |
 |
| Yep! The profile of the trim is fitting for 10' ceilings |
 |
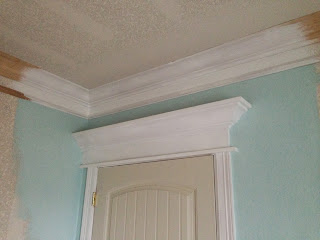
| Working out the color selections. |
 |
| A little too much blue for the ceiling but the "F" molding (yes, that is a type of molding and not a vulgar expression) is a great idea and makes the crown look so much larger. |
 |
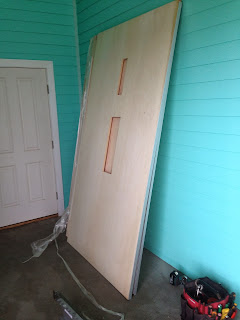
| Elevator cab parts. How do you think that install this large box through a small door opening? |
 |
| Elevator rails and motor assembly. Sure glad they know what they're doing! Most definitely not a DIY project! |
 |
| The motor and chain assembly is attached to the top of the rail sections. |
 |
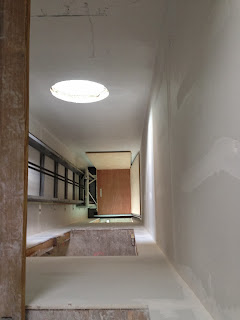
| Porthole installed. The bluish green color is simply the reflection of the paint inside the vestibule on the ground floor. |
 |
| Trim above the door and windows is taking shape. Wainscoting next. |
 |
| MSTR BATH Cabinet bases |
 |
| Southside Exterior view. Note the elevator shaft on the left side of the House. |
 |
| Another Southern view. |


No comments:
Post a Comment